DIY guide for ground screws
Do you have a project, like a new terrace or greenhouse, but you don’t want to work with concrete?
At BAYO.S, we ensure a sustainable and European foundation that can be installed quickly and easily.
Content
Introduction to ground screws/screw foundations
A ground screw solves the challenges of concrete foundations such as drying time, CO2 emissions and excavation work. It’s so easy and you just need to know where to place your ground screws and then screw them into the ground. That’s all it takes.
You don’t have to dig, level the ground, make a frame, mix the concrete and wait for it to dry.
If you already have paving, you can move one tile where the screw will be and install it. If it is unmanageable that you have to deal with it yourself, you can use apartnerwho can install and complete the project for you.
Advantages of using ground screws
BAYO.S screw foundations offer a number of advantages compared to a traditional foundation. Our screws are:
- Quick and easy to install
- No digging required
- You can continue building right away
- Moveable
- Can be mounted all year round
- Nothing heavy needs to be lifted
- Sustainable and European with all certificates and standards
Test your soil
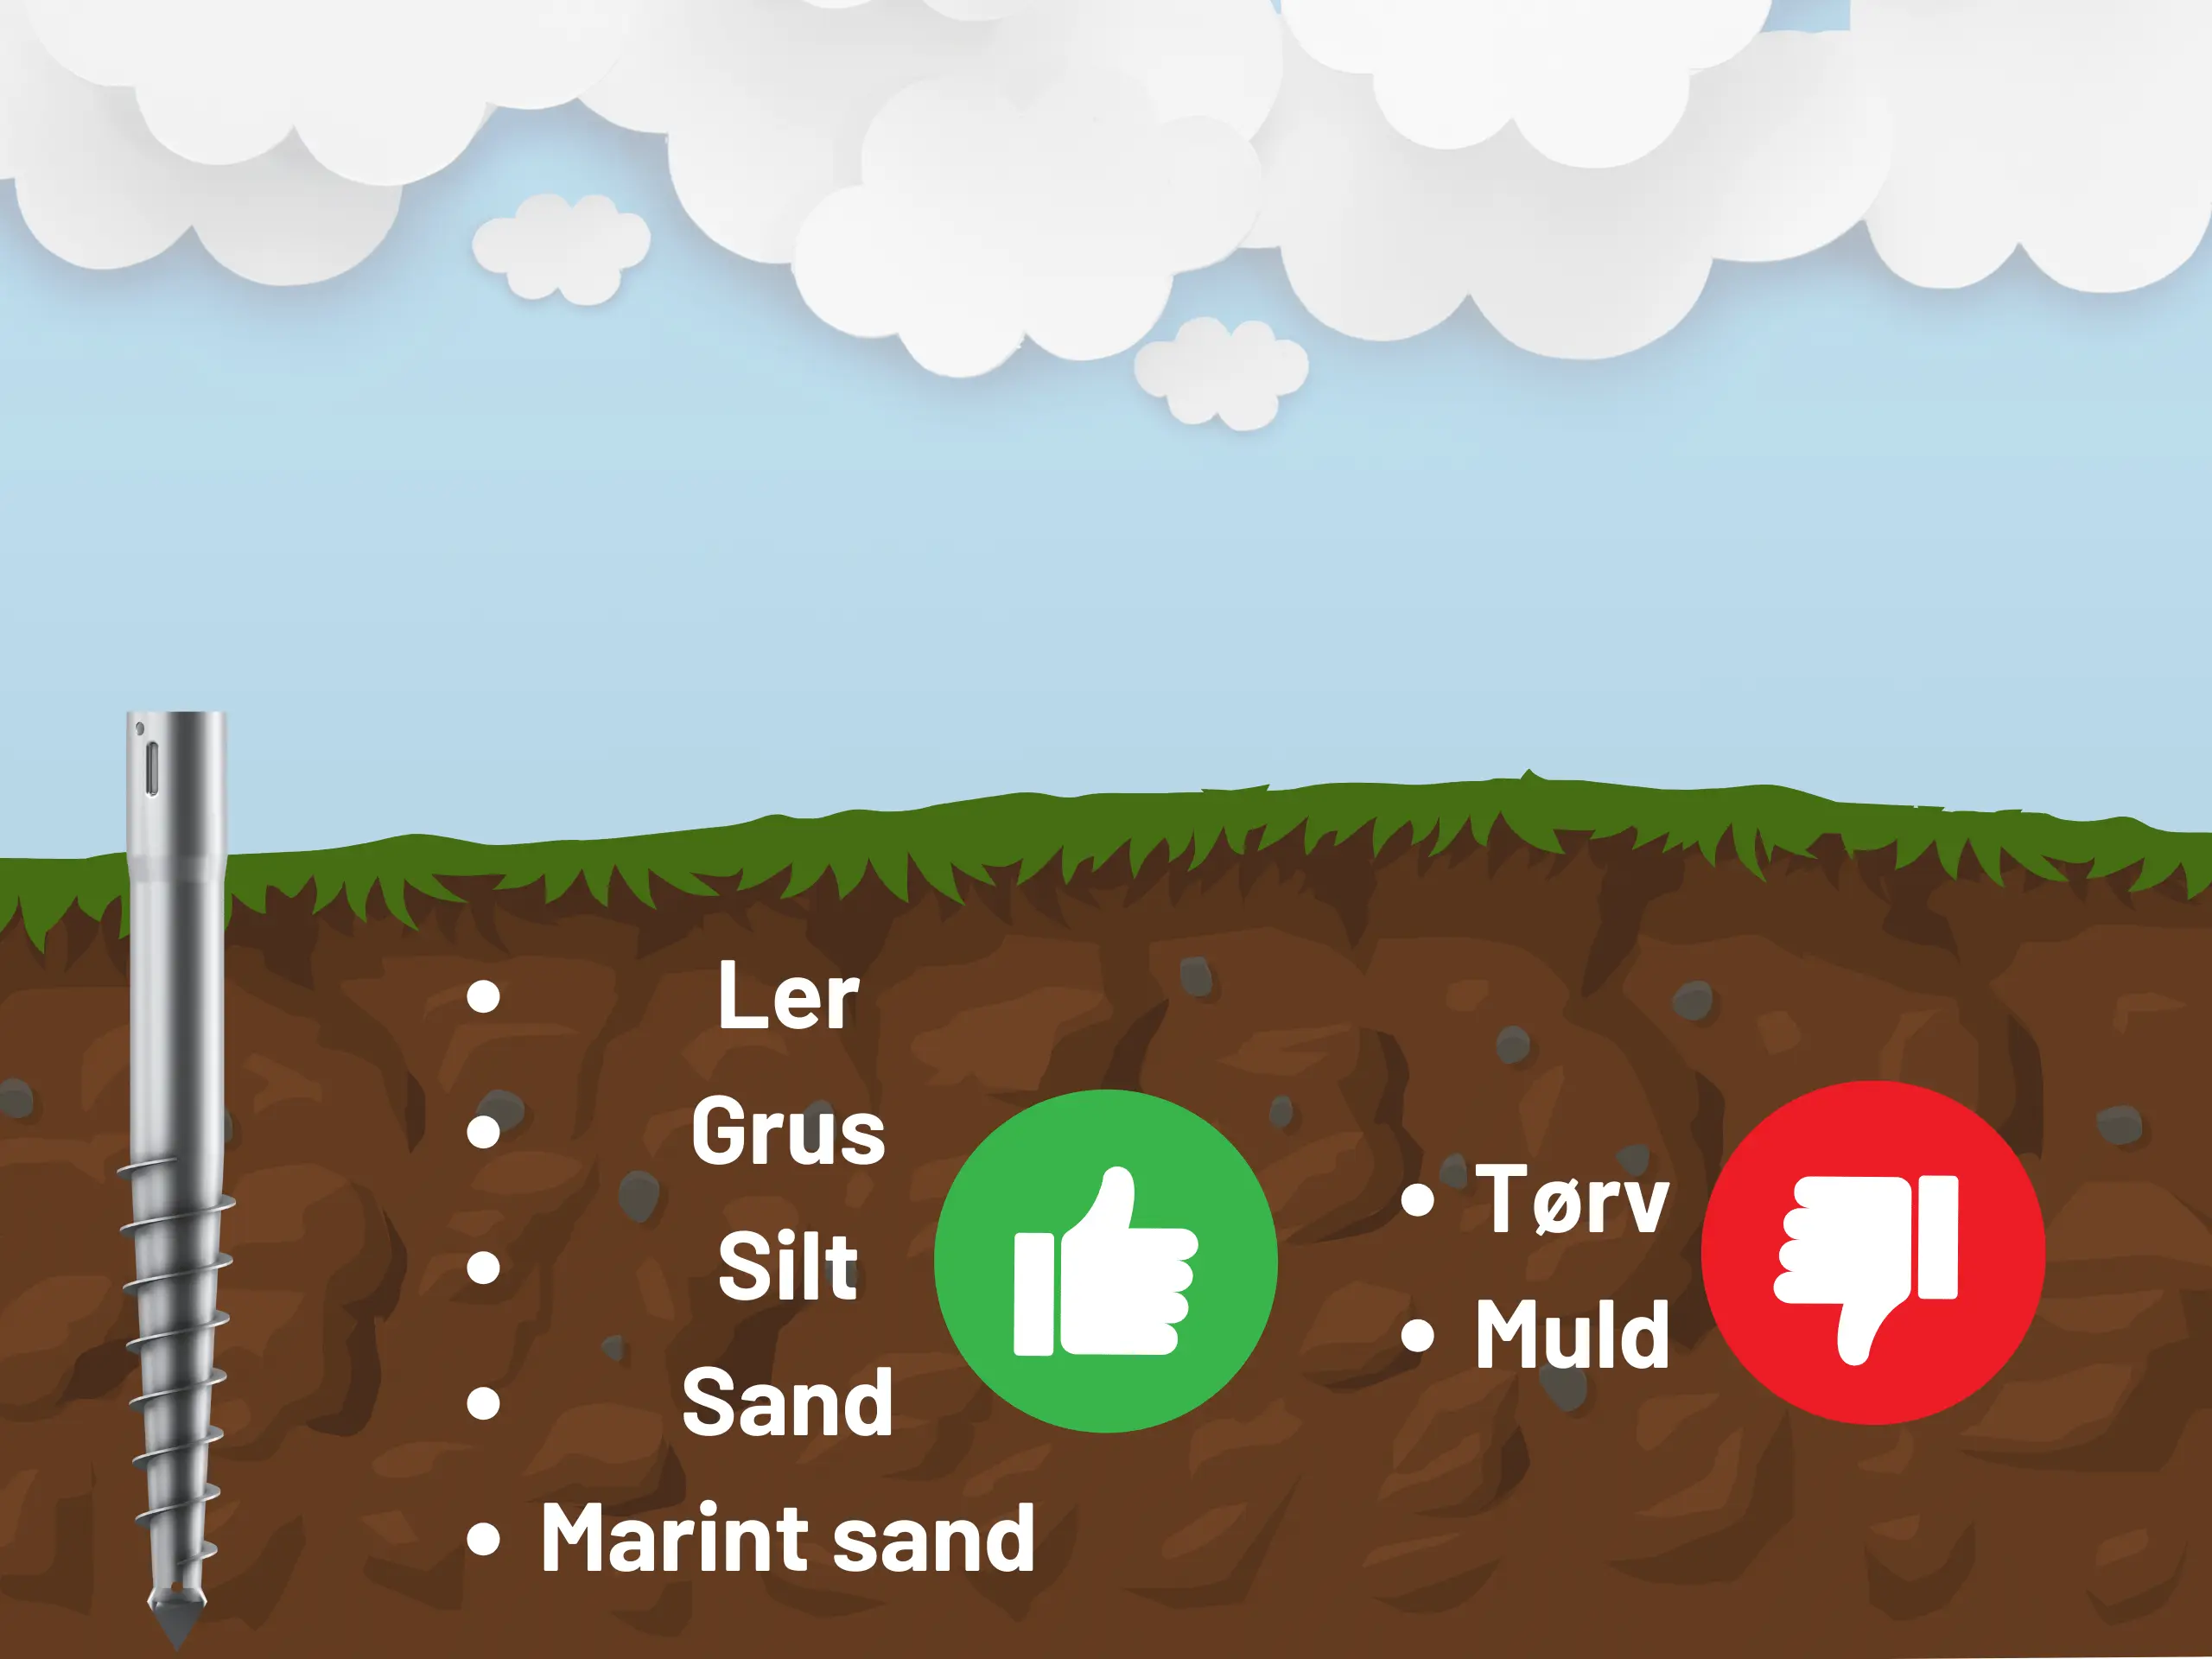
The load capacity of screws depends on the length of the screw and the type of soil they are screwed into. You should always check the soil type before installing the screws.
For larger projects, test the depth to the bearing layer by digging until you hit the bearing layer. The entire thread of the screw must go into the sustainable soil layer and therefore the depth is related to the length of the screw.
However, you can even do a small practical test if you are in
doubt about what type of soil you have. You take a lump of soil between your fingers and clench your hand around it. Clay soil can be shaped very easily and sandy soil will have a greater tendency to flow out
between your fingers.
It is not recommended to use peat and topsoil as the sustainable layer.
How much can a ground screw carry
The diagram shows an overview of the load capacity of the screws.
The load capacity is given in kilonewtons (kN), where 1 kN is approximately equivalent to 100 kg. The diagram shows that a 40 cm ground screw. can carry 2.5 kN, equivalent to 250 kg. in vertical pressure strength.
Note that this is for clay soil and the diagram is only indicative. The load-bearing capacity only applies to the part of the screw that is in the ground. If your 80cm screw needs to be 10cm above the ground, the load capacity for 70cm applies.
Data sheets for our entire DIY range are available on our website, see our DIY range.
When choosing the screw length, the following should be taken into account:
- What is the total weight of the building materials.
- What should the screws load besides the building materials.
- Future plans (e.g. do you want to place a hot tub on your terrace or similar).
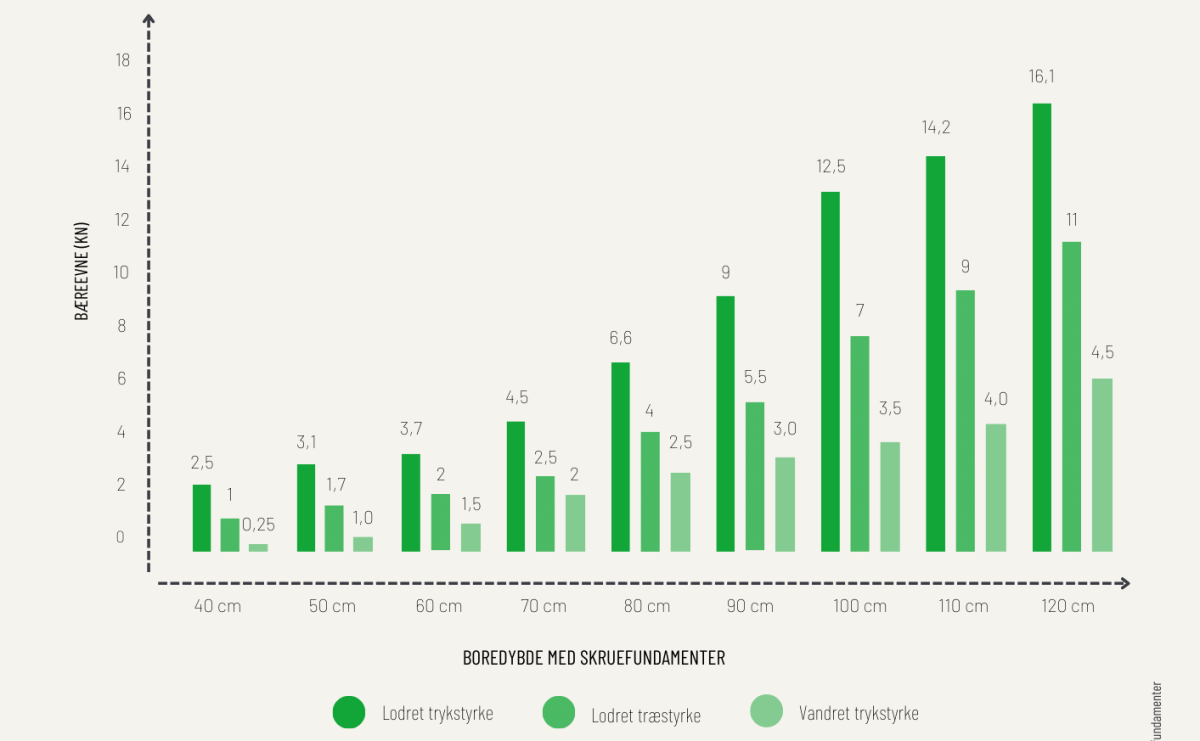
The listed values were determined by the soil type clay with a CU of 200 kPa. All values are reduced by a safety factor of 1.3 and a collation factor of 1.5 according to Eurocode. Cross load is set to a constant max 5 kN* for vertical piles. If a higher horizontal load capacity is desired, the piles are angled to utilize push/pull combinations. The values in the graph are indicative only. Screws should be selected based on static calculations and soil test results on site.
Tops for different applications
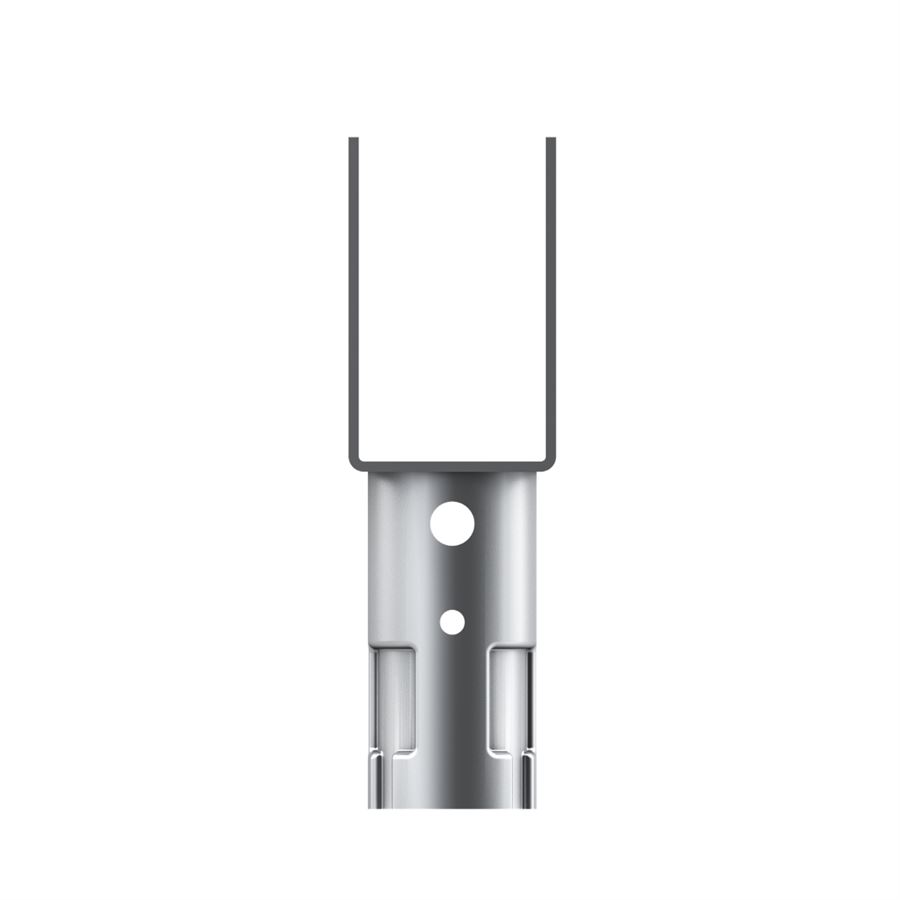
U TOP 80 & 100
- Horizontal beams or upright posts
- Used for terraces, carports, fences & decking etc.
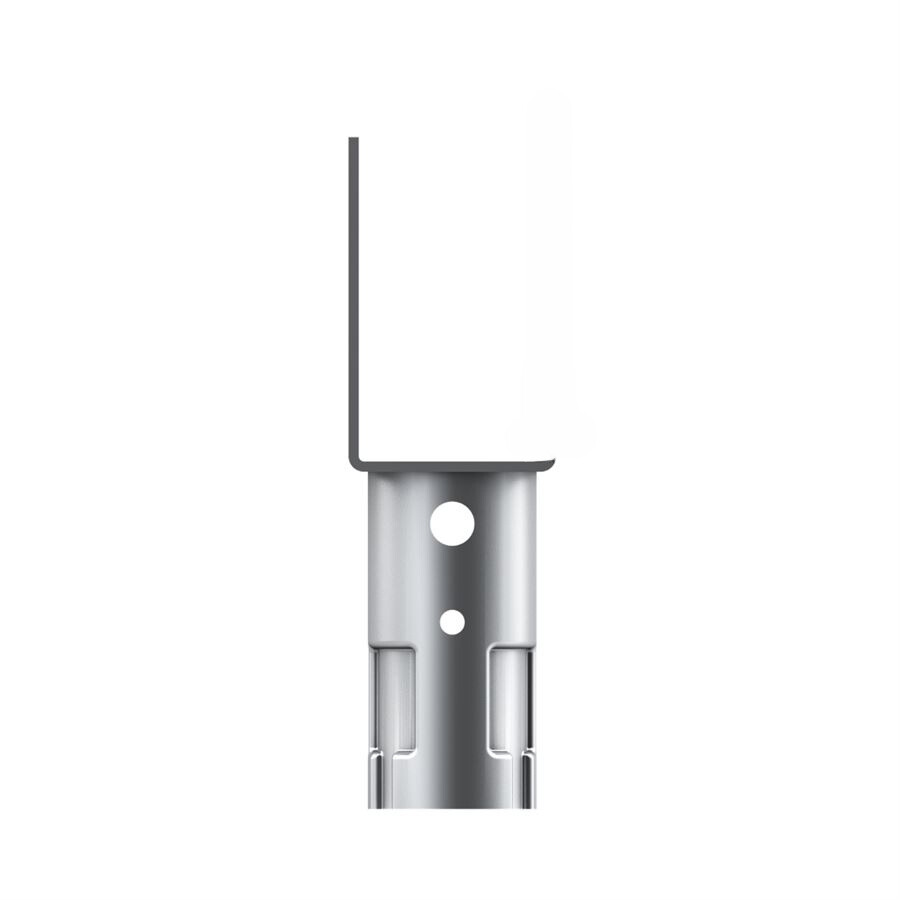
L TOP M12
- Timber and other profiles
- Used for terraces & carports etc.
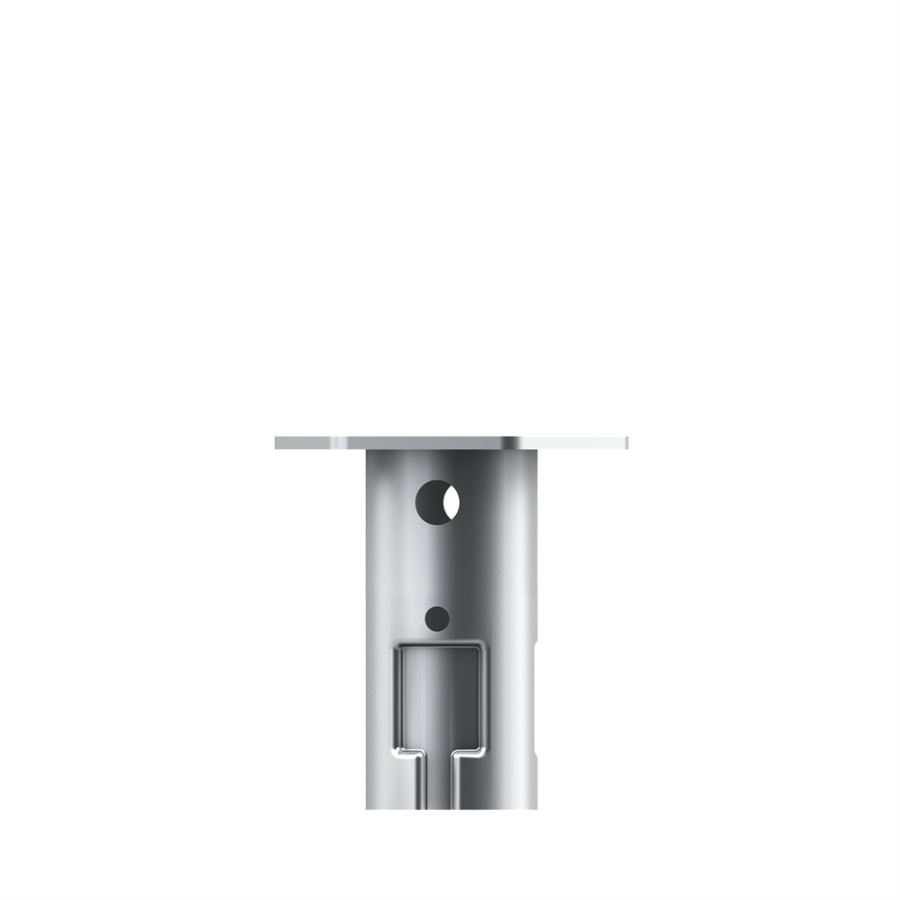
HEX TOP M12
- Carrying glulam beams & cassettes. Fastens with bolt from above
- Used for various projects with timber
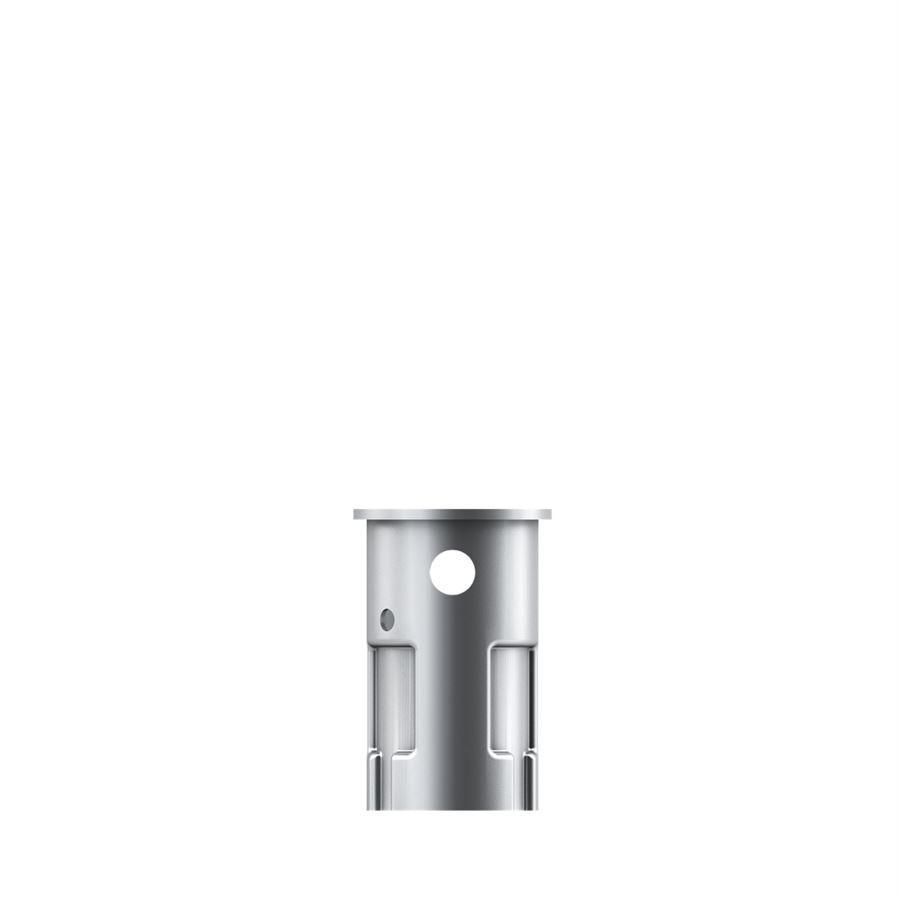
FLAT TOP M12
- Fastening timber from above
- Used for various projects with timber

FLAT TOP M12
- Fastening timber from above
- Used for various projects with timber
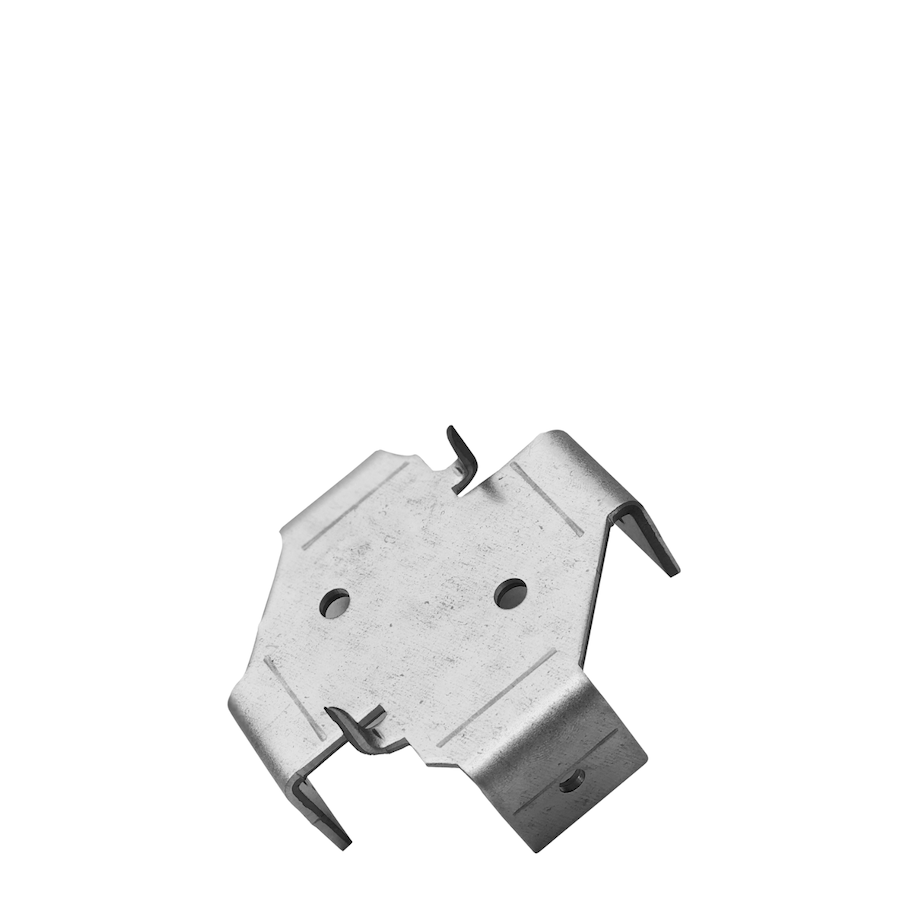
KOP 75
- Anchoring timber and other profiles
- Used for terrace
See the different applications with the various tops.
Installation instructionsWhat type of screw do you need
We recommend that you go with extendable ground screws, where you buy extensions and tops, as 9 out of 10 cases are 20-40 cm topsoil and therefore need a screw tip of 70cm to start with. If you are building a terrace, you can make do with our fixed screws, but up to 10 cm above ground level. If you need to go above 10cm above ground level, we recommend extendable screws, as for other constructions we recommend going to frost-free depths to avoid settling over winter periods.
See our range of extendable or fixed screws
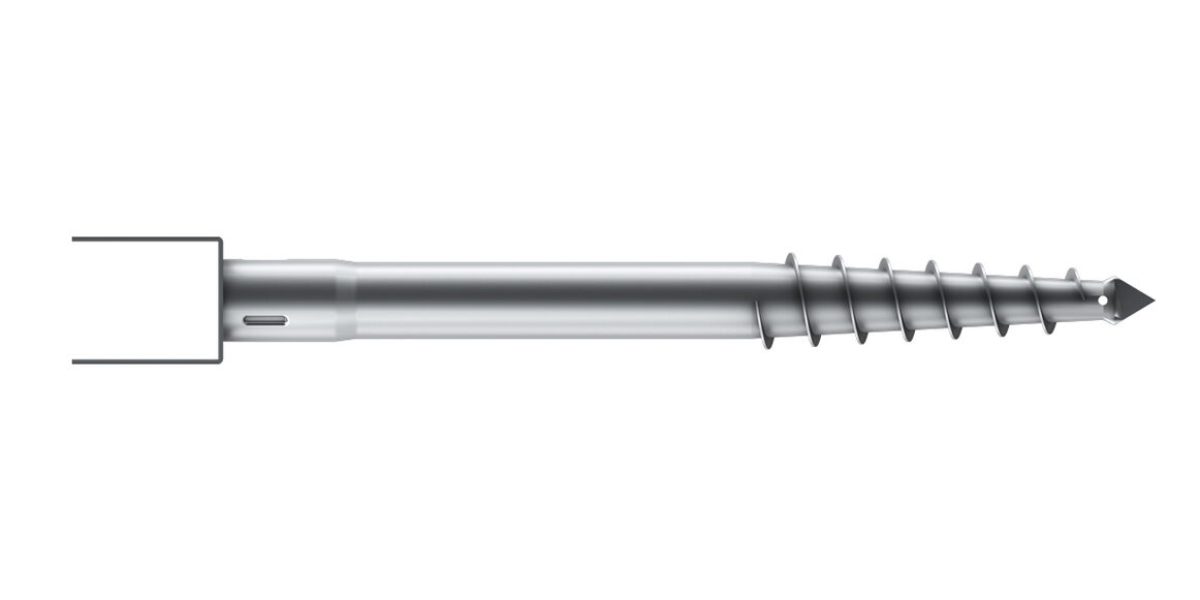
Fixed screws
- Install directly into the ground and get started.
- Used for decking, decking fences and other structures with smaller loads
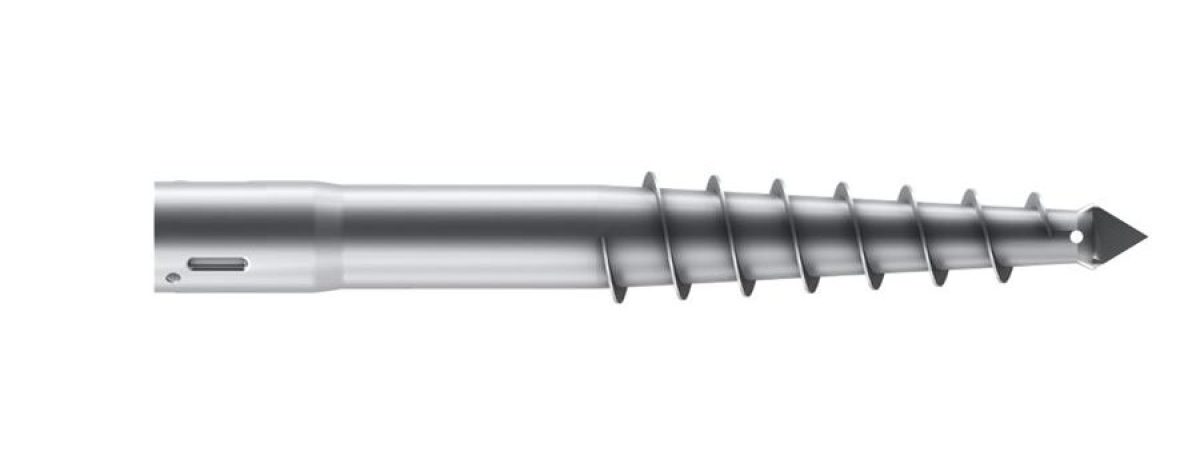
Extendable screws
- Easily extends to reach frost-free ground for greater strength and safety
- Use for all projects around the home
How many ground screws do I need?
The number of ground screws depends on the project. If you are installing a pergola, it is one screw foundation per post. If you’re installing for a terrace, it depends on the size, but for a 2-layer terrace of 4×3 m. you need around 18 pieces for 145 mm beams and 95 mm joists. If you need a more accurate guide to see how to build a deck and what you need, check out our guide to decking on screws.
Tools for installing ground screws
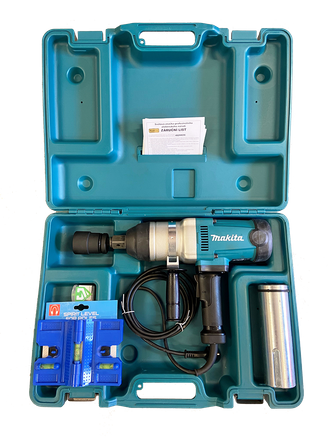
Impact tools MAKITA TW1000
- For screws that go up to 60cm below ground level
- Smaller tasks such as decking, decking & fencing
- Rented from various retailers
Gearbox set 1:20
- For screws that go up to 100cm below ground
- Larger jobs such as sheds, carports, pavilions, etc.
- Rented from various retailers
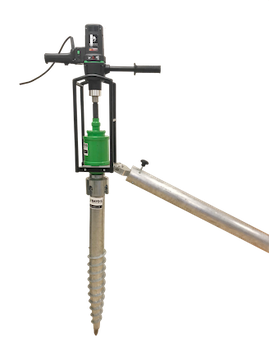
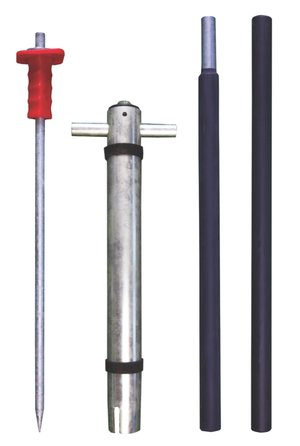
Manual tool
- The depth of the screw depends on strength
- All applications if the optimal depth can be achieved
- Available from various retailers
Installing the ground screw step by step
You can watch this video or follow the steps below
Step 1
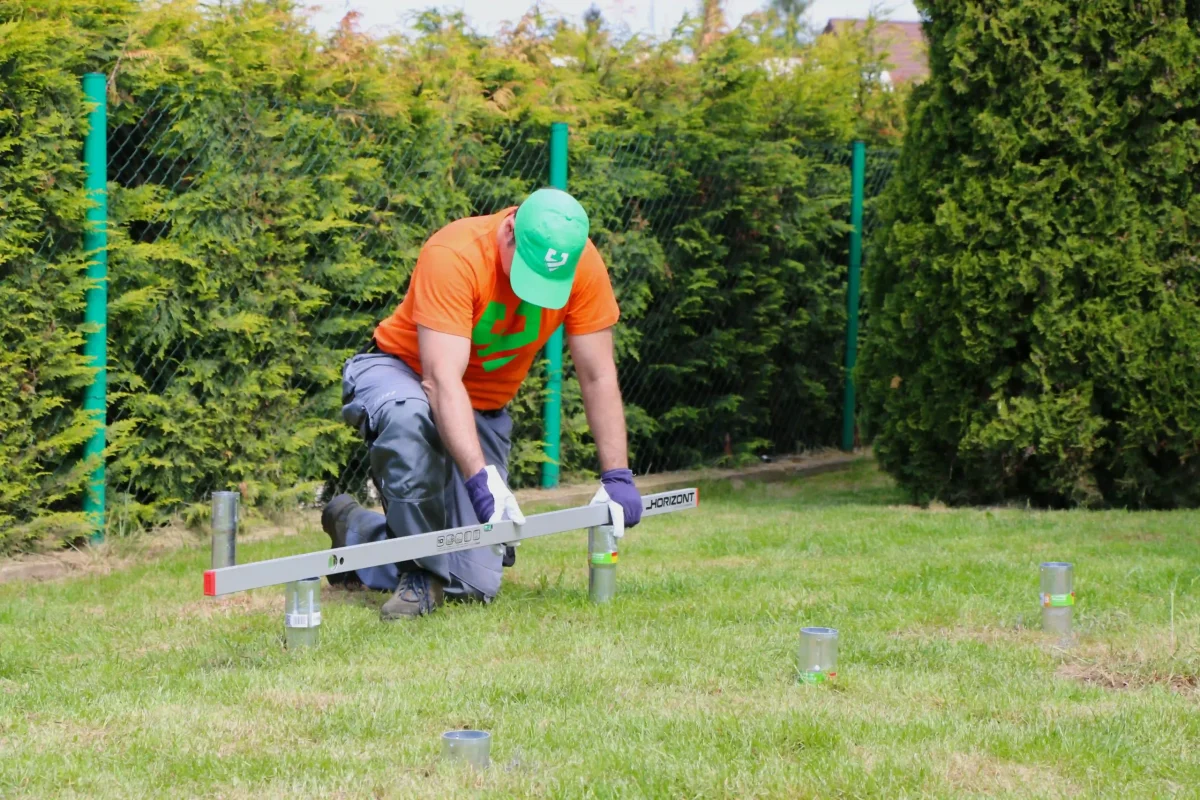
Mark the spot and drill or punch a hole for the tip of the screw. Use mason's string if you need to install multiple screws.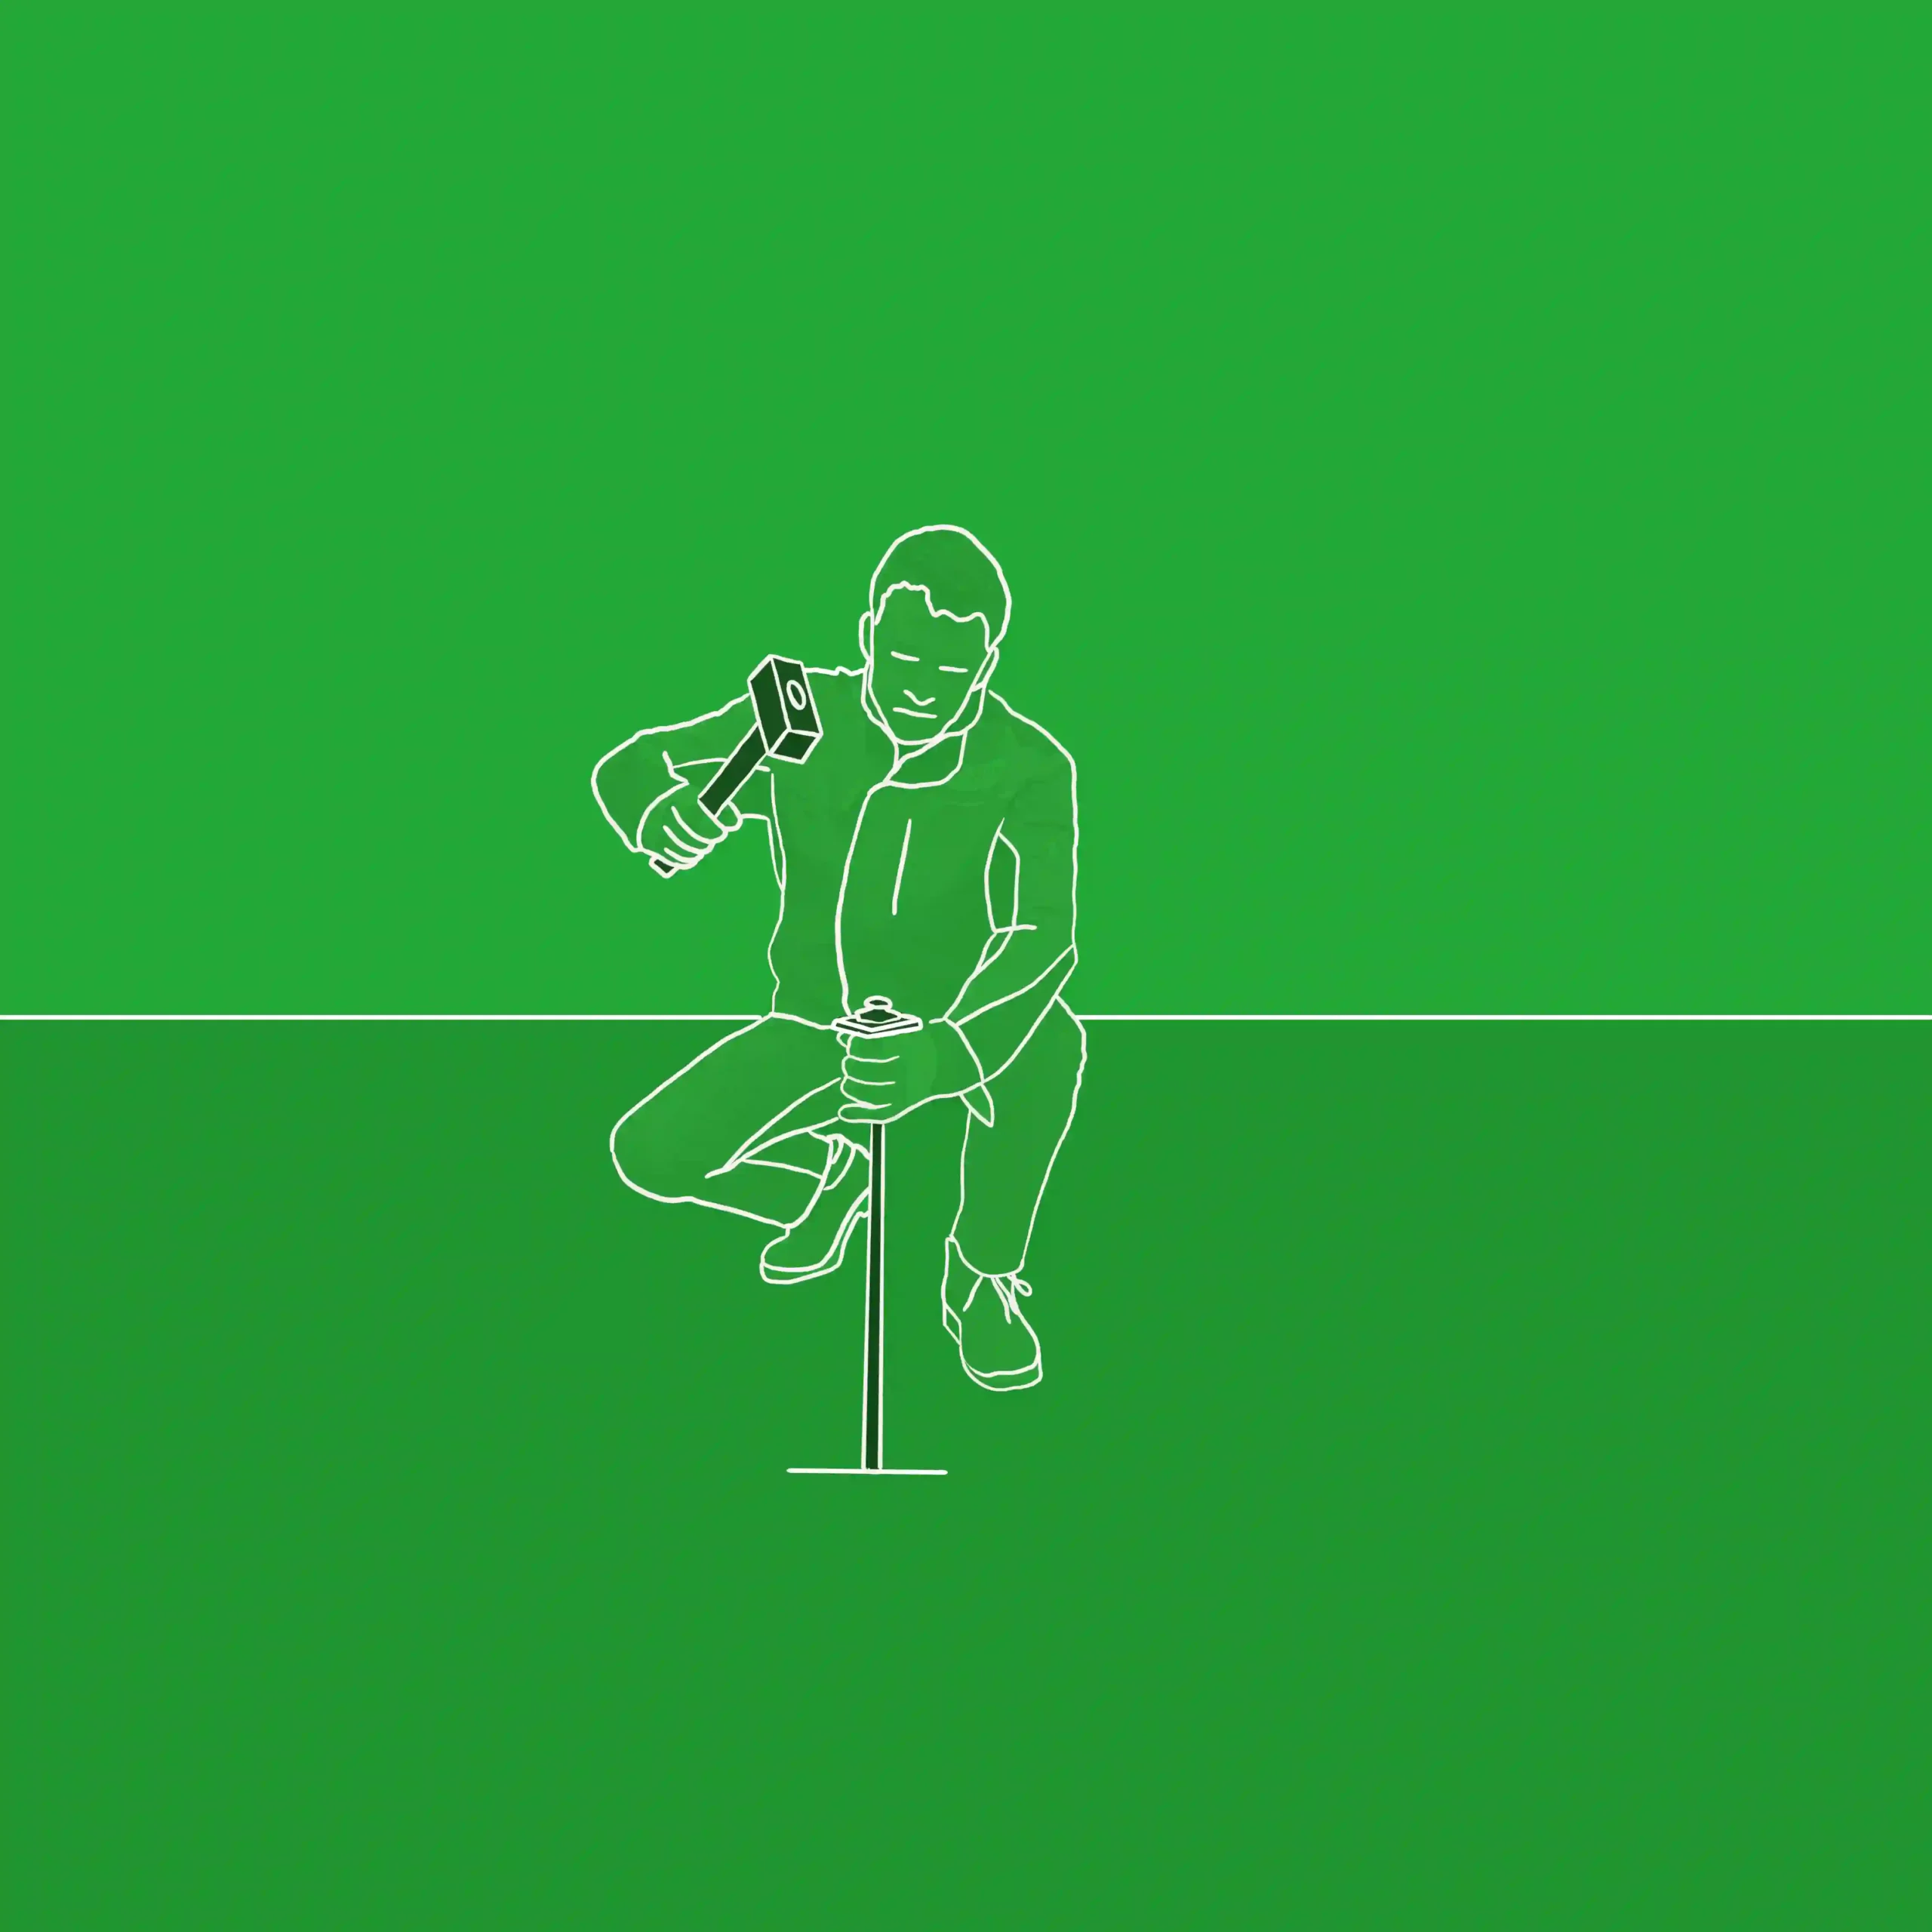
Step 2
Screw the screw into the ground with hand force. You can pour water into the hole.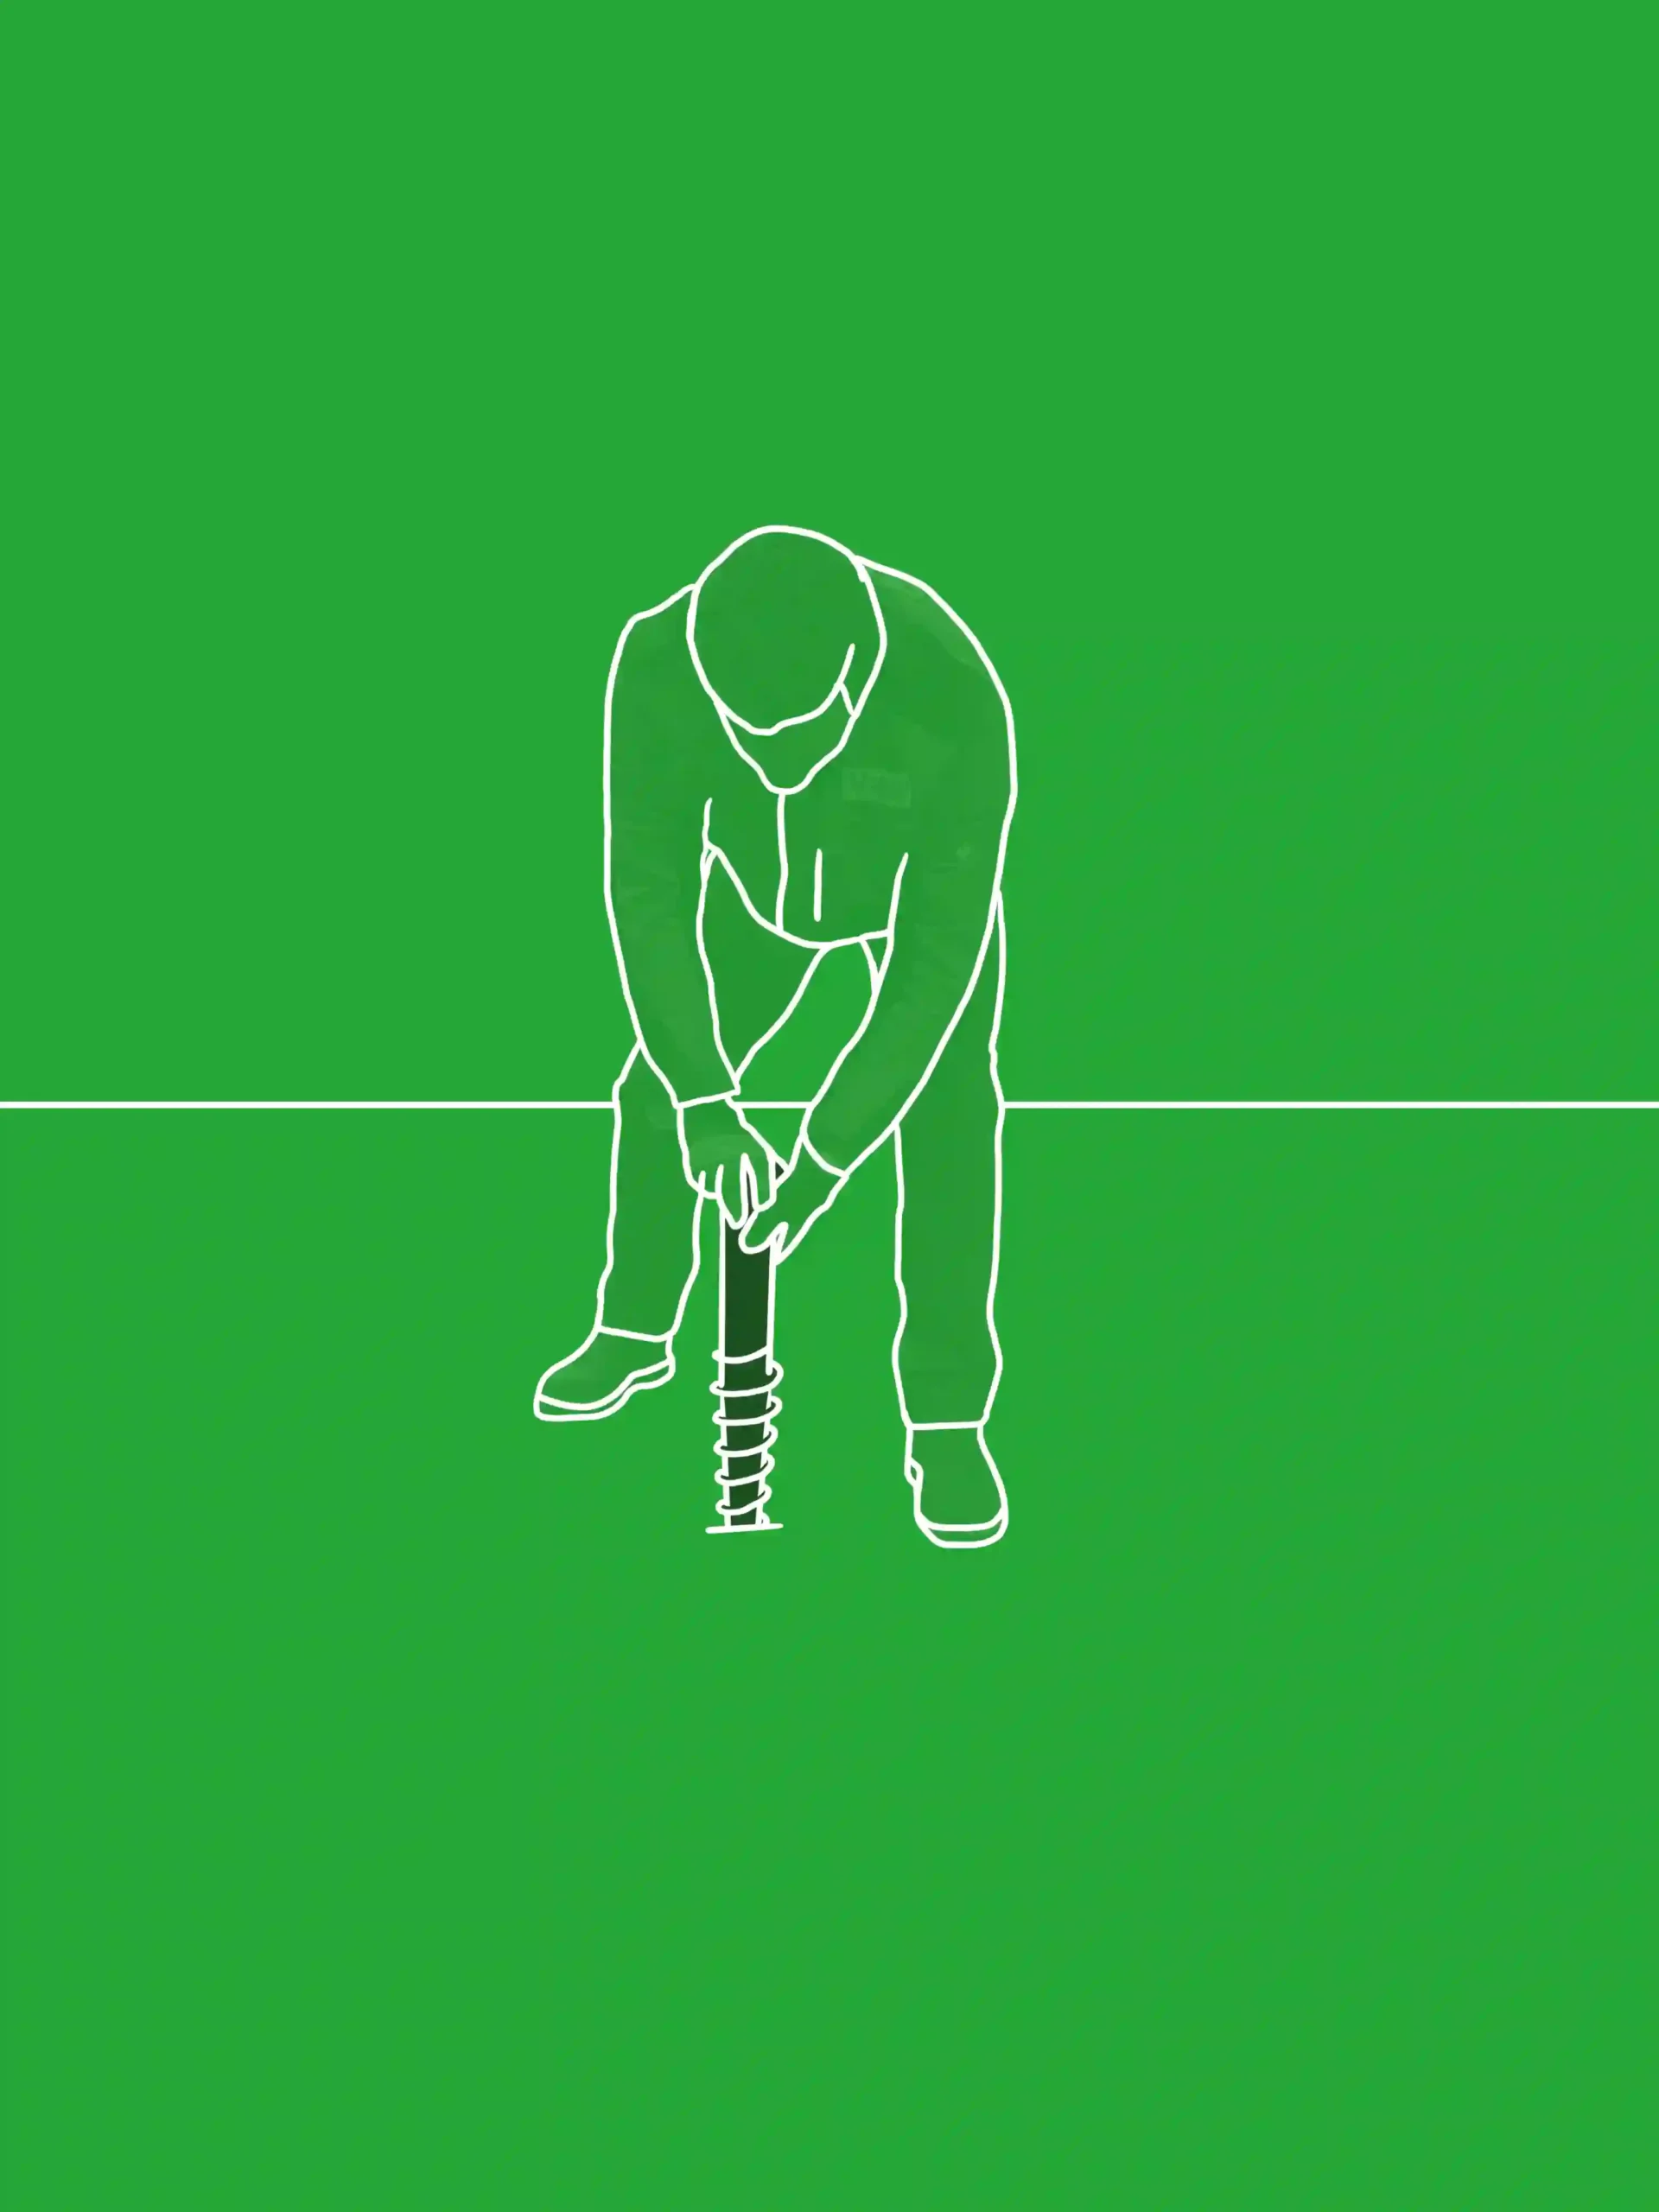
Step 3
Impact tool - Install a spirit level on the screw and make sure the screw is level.
Gearbox - Install the safety bracket and keep the screw level.
Manual - Mount the spirit level on the screw and make sure it is level.
Step 4
Screw the screw into the ground until the desired depth is reached, making sure to keep an eye on the spirit level (the spirit level is mounted on the Gearbox).

